Archive for the ‘ Geek ’ Category

Blink(1) + Google Latitude = “Where’s Daddy?”

A while back, I backed a Kickstarter: Blink(1) – The USB RGB LED. In a world of next-day instant-gratification deliveries, it’s always a pleasant surprise when something you totally forgot about ordering turns up.

It fits neatly into the spare USB port under an Apple keyboard.

2012-12-13 20.18.07

Time for a Pomodoro hack – make something useful in 25 minutes. No time for over-engineering – hack fast!

After a long delay on the train yesterday and my kids calling up to ask if I was nearly home yet, I knew exactly what I wanted to build…

The “where’s daddy?” indicator:

  • Blue -> home (or near home)
  • Red -> work
  • Green -> commuting.

Ingredients:

Timeline:

  • Minutes 0-3: Unpack Blink(1), download command line tool, and test it out. Looks good.
  • Minutes 4-14: Read the API docs for Google Latitude. Tried really hard to get authentication working but realized I was burning time. Arrrg, the pressure – this is taking too long! Aborted and looked for a quicker way.
  • Minutes 15-18: Found a quicker, hackier way to get Google Latitude data. Worked!
  • Minutes 19-22: Hacked up a quick Python script to poll Google Latitude, and convert the coordinates to a value from 0.0 to 1.0 where 0.0 is home, 1.0 is work and 0.5 would be half way between.
  • Minutes 23-25: Based on the number, call the blink1-tool command setting the color to indicate my location.

2012-12-13 20.18.18 2012-12-13 20.18.29

Here’s the code:

https://gist.github.com/4282399

(Ok, I cheated a little – I spent another Pomodoro cleaning up the code, adding comments, etc and another 2 Pomodoros writing this blog post).

Resistor color codes – now in DuckDuckGo search results

Remember a few weeks back I announced resisto.rs, a no-frills resistor color code calculator?

Welllll, if you happen to be a user of DuckDuckGo, it’s now even easier. See the resistor colors directly in your search results!


Image

Try it out at DuckDuckGo.

And thanks to DuckDuckGo for making it so easy to extend your search engine.
Here’s the code.

Hello Pi Crust! Connect things to your Raspberry Pi

[Update: discuss on Hacker News]

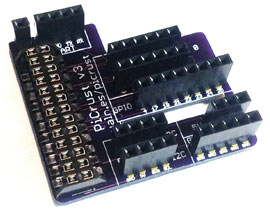
This is the Pi Crust:

Pi Crust

It lives at http://picru.st/.

It’s a little PCB I designed to make it easier to experiment with electronics and the Raspberry Pi.

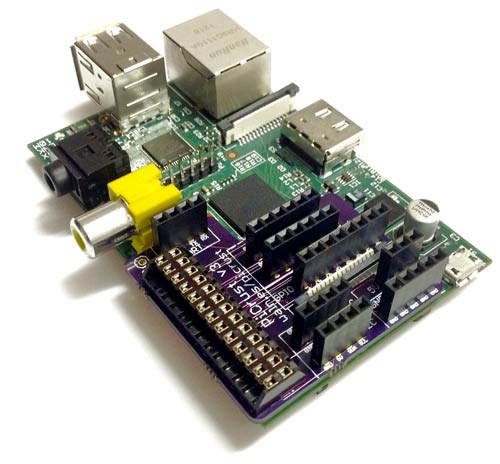
You stick it on a Raspberry Pi, like this:

Pi Crust, on a Raspberry Pi

Some features:

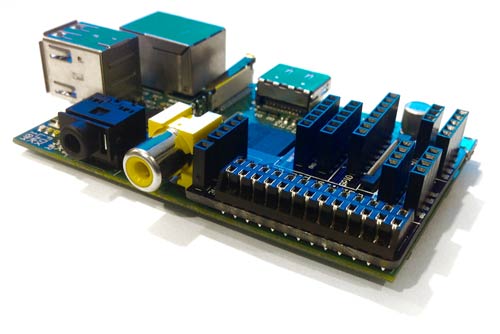
  • Really compact – sits inside the surface area of the Raspberry Pi and adds less than 2mm to the height. If you have a case for your Raspberry Pi, this board may well fit inside it.
  • Pins are grouped together: GPIO, I2C, SPI, UART and power.
  • Every pin is clearly labelled.
  • Connections: 2 x SPI, 2 x I2C, 1 x UART, 8 x GPIO.
  • Uses female headers instead of male headers – you can poke jumpers right in.
  • Lots of GND and 5V pins – you need those guys a lot. These pins are duplicated where it makes sense (e.g. within the UART, I2C and SPI groups).
  • All thru-hole components – you can solder it yourself.
  • Cheapety cheapy cheap.
  • Open source hardware.

There are lots of other boards out there, but this is unique in that it fits nice and snugly against the Pi, keeping your projects compact.

Nice and snug

Now you can easily find all those pins:

PCB

Find out how to make one for only a few $ at http://picru.st/

[Update: discuss on Hacker News]

My Workbench

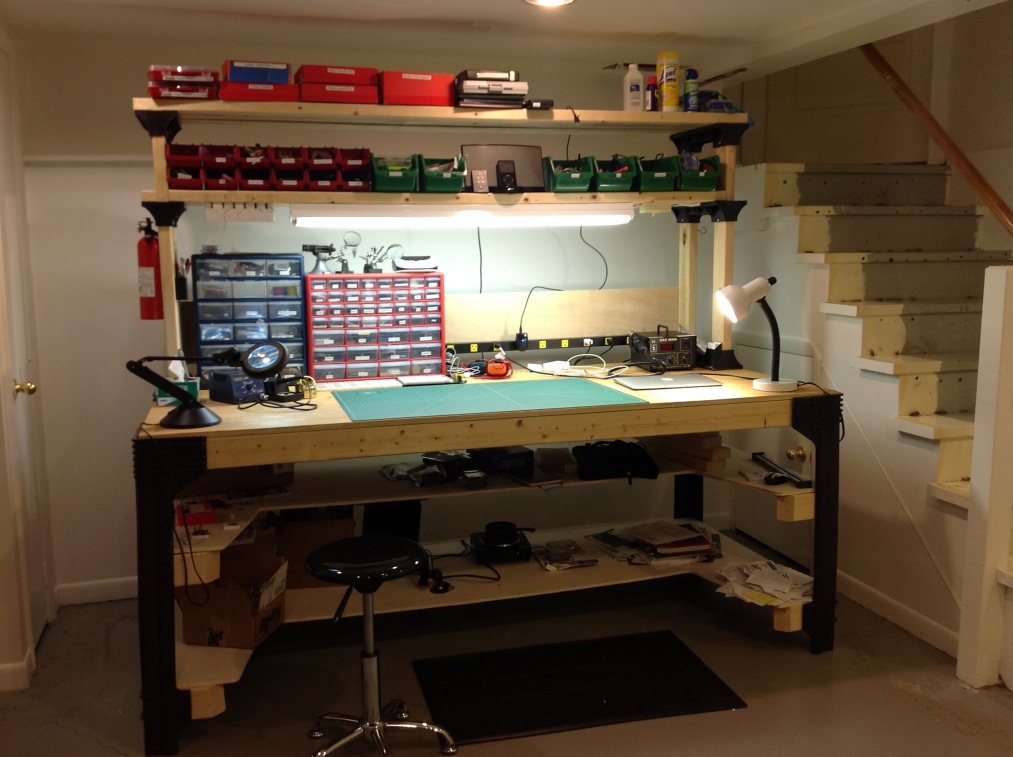
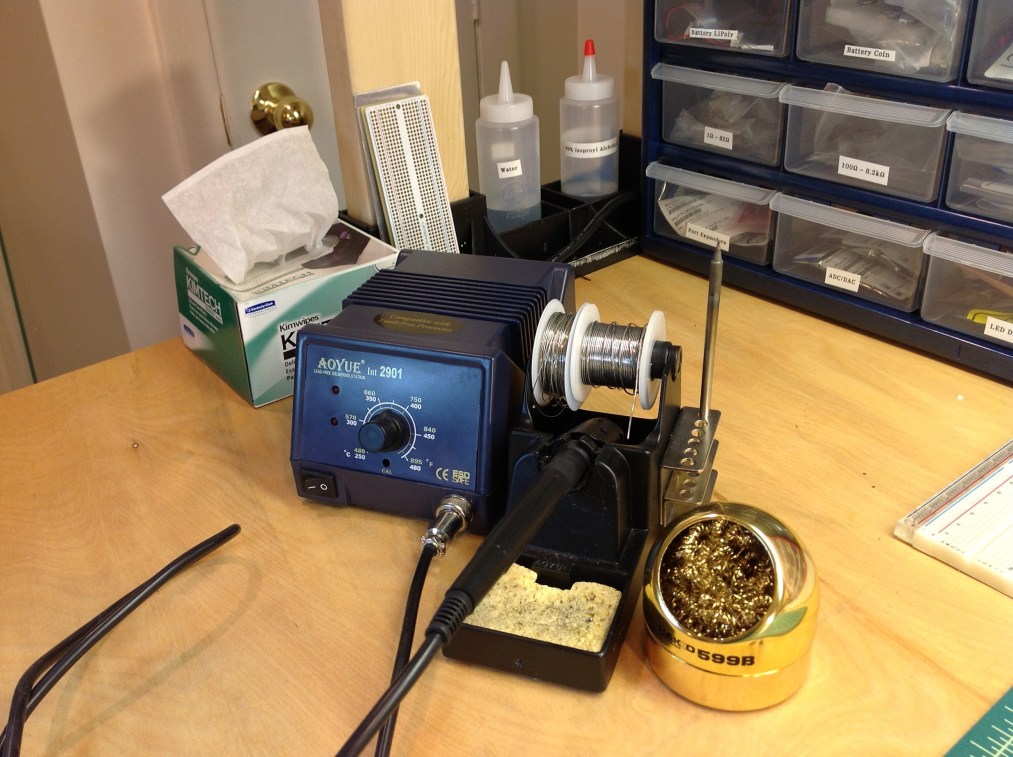
For the past few months, I’ve been doing more and more electronics and making. Here’s some photos of my electronics workbench in the basement and tips I’ve learned along the way…

Image

  • Tip: Amazon 2x4s basics – a great way to build a workbench. Just add wood.
  • Tip: For electronics work, I find it more comfortable to stand. The black mat on the floor is one of those soft mats that make it easier to stand without getting tired.
  • Tip: If you take the standing option, it’s handy to have a stool – just in case.

Image

A a large craft mat where I do my soldering. Protects the desk, makes it easy to clean and find little components.

Image

  • Tip: If you’re left handed, put the soldering iron the left of your main work area. Makes it so much easier – before I did this, I kept getting tangled up.
  • Tip: I have two solder spools – a chunky one for through-hole components, and fine for surface mount.
  • Tip: Keep a bottle of water handy for wetting the sponge without having to leave the room.
  • Tip: Even better, use a brass sponge – no water required.

Image

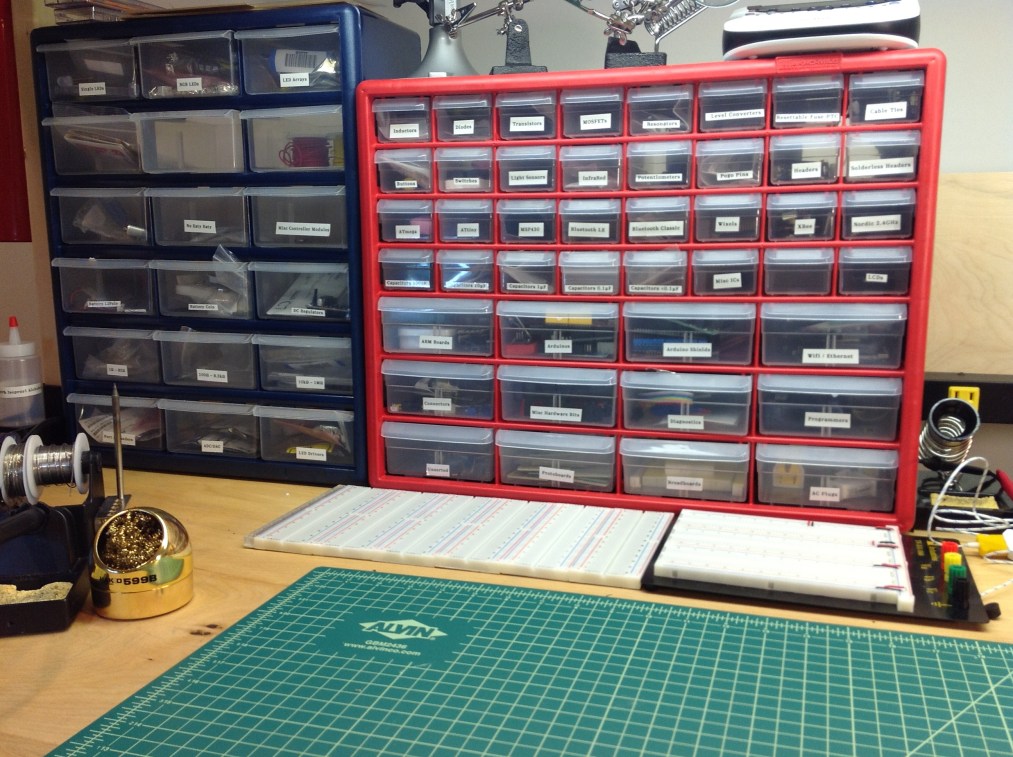
I organize all my through-hole components and board into these drawers.

  • Tip: Get a labeler.
  • Tip: Keep everything in reach.
  • Tip: I have an ‘unsorted’ drawer that I sweep components into when I’m done. Every once in a while, I’ll sort through this drawer and put everything back where it came from.
  • Tip: For components like resistors and capacitors, split them into multiple drawers of ranges.

Image

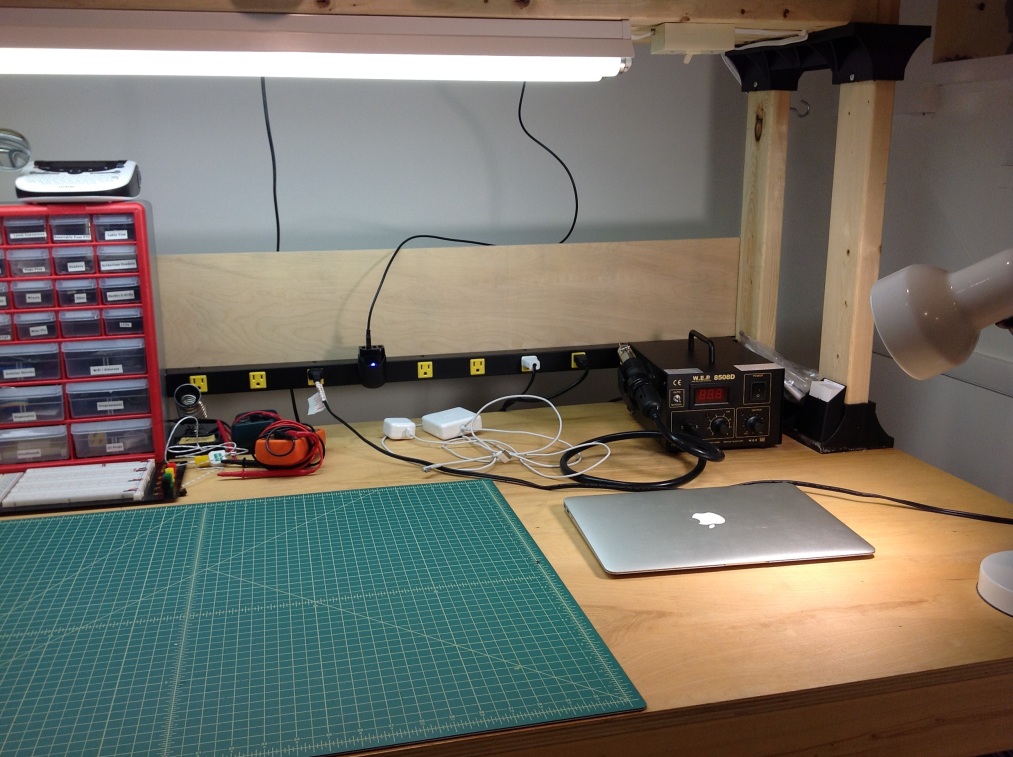
  • Tip: You can never have too many power outlets.
  • Tip: Lots and lots and lots of light!

Image

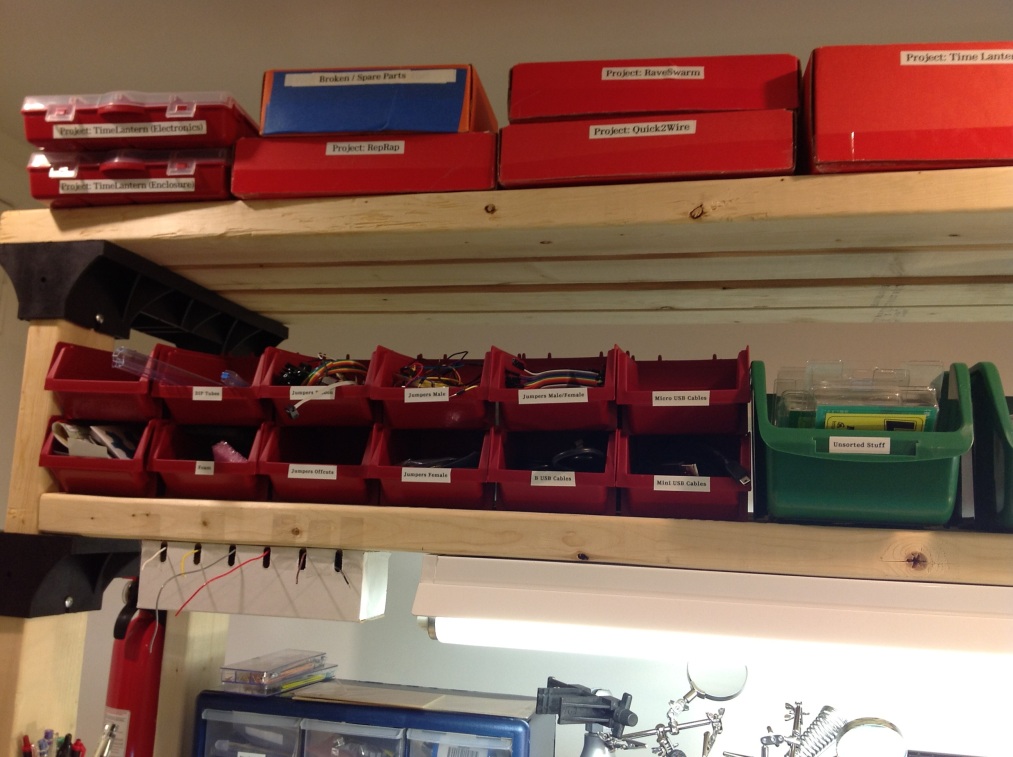
  • Tip: Get cheap stackable storage containers. I use these for things like cables and tools.
  • Tip: Keep all the cardboard boxes you get sent components in. They’re really handy for grouping projects together.

Image

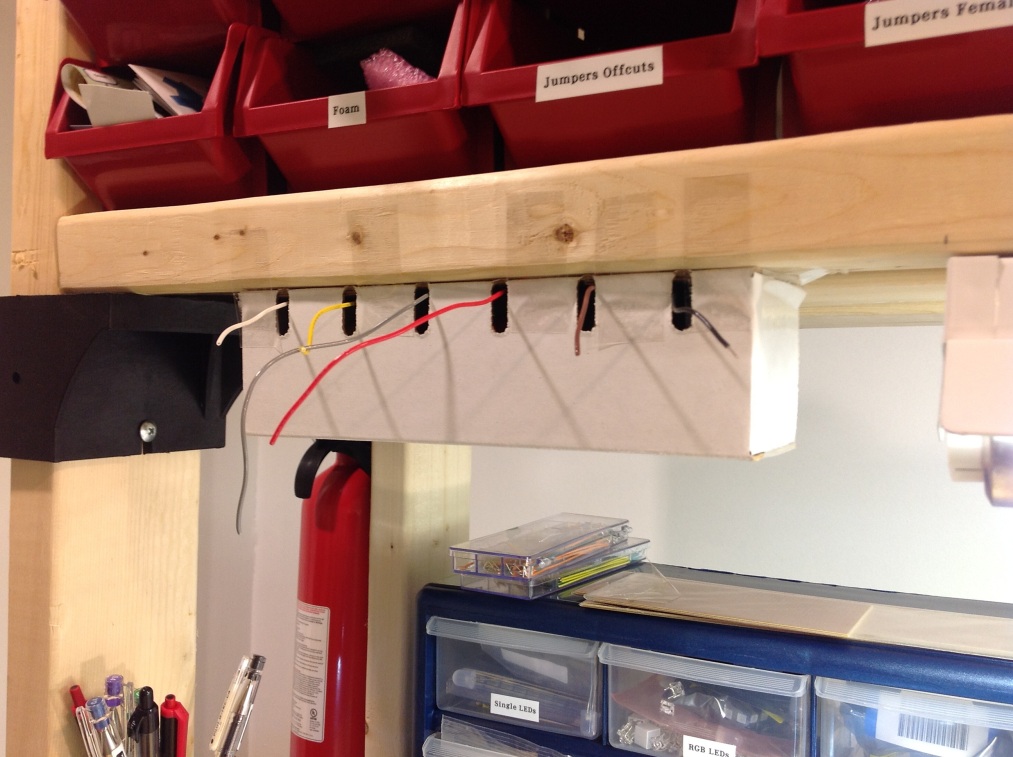
  • Tip: Easy to access hook up wire box. Held in place with tape.
  • Tip: Yes, that’s a fire extinguisher at the back. I’ve never needed it, but I feel a lot better having it nearby.

Image

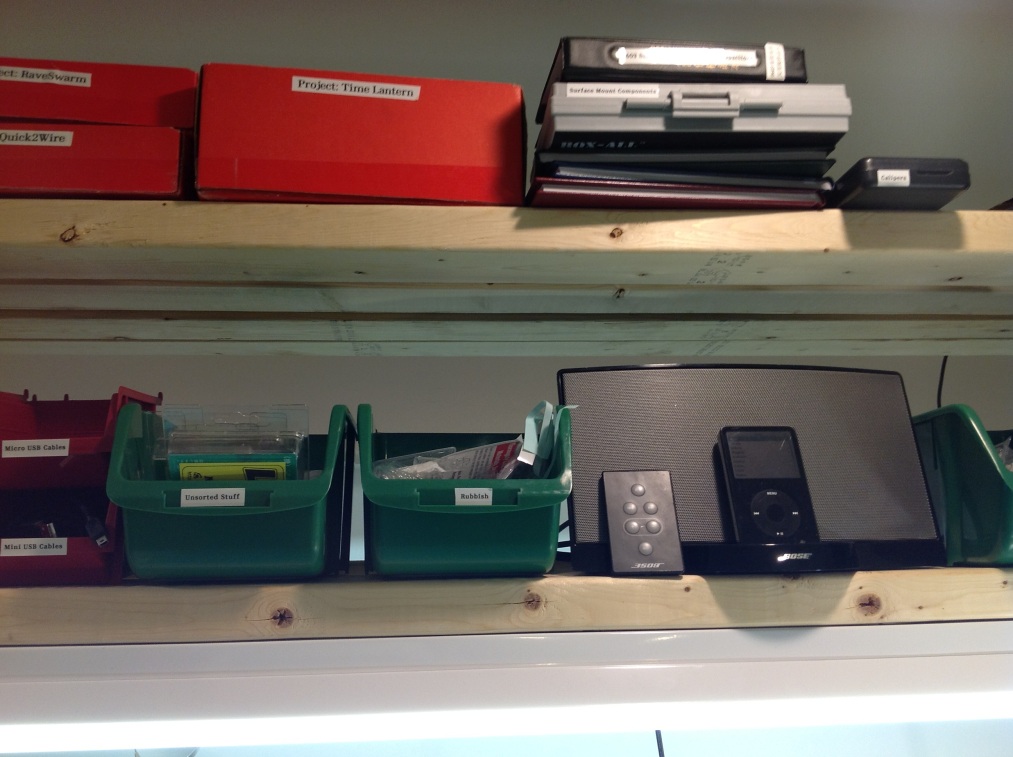
  • Tip: Phat choons to work to.
  • Tip: The little grey box on the top shelf, just right of the middle: that’s where I keep all my surface mount components. They’re a lot easier to manage than through-hole.
  • Tip: Every time you store a component, cut out the label with the part number, so you can easily Google the datasheet or order more when you come back to it later.

Image

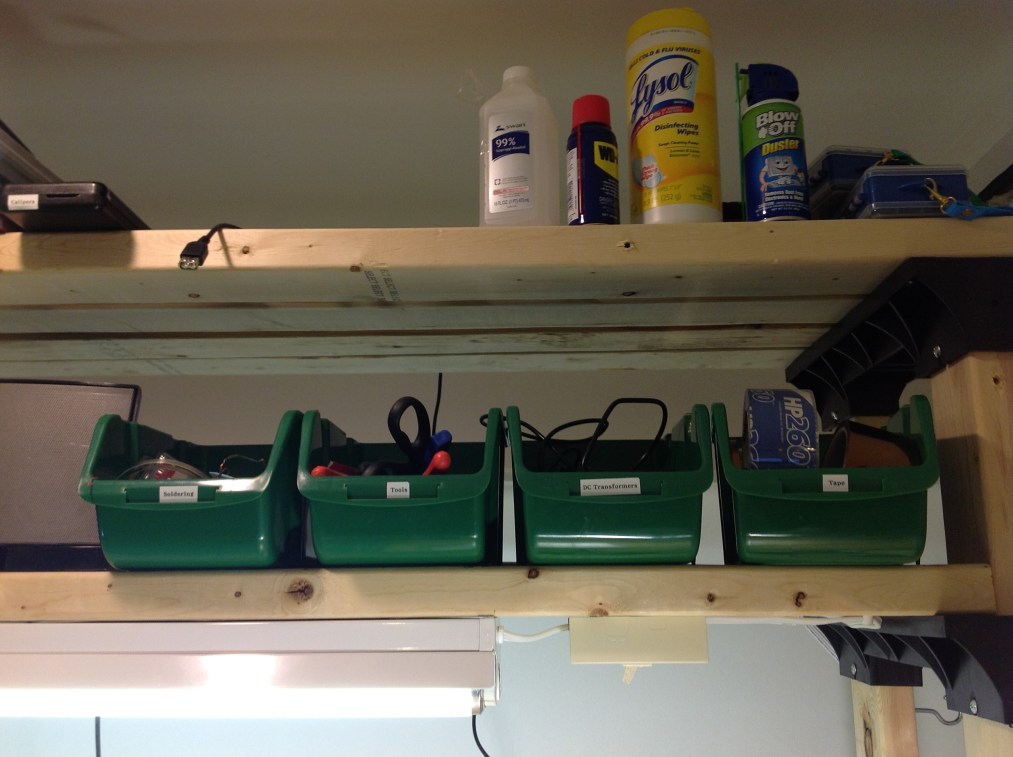
  • Tip: Keep tools, cables and soldering supplies in these little containers, and get the entire container down when you need it.

Boring photo, but important point…
  • Tip: Leave space behind your desk, so you can easily get behind it to plug things in, re-wire, etc.
Got any tips or photos. Leave a comment…

Driving 16 LEDs from a Raspberry Pi, using a shift register

Just received a Raspberry Pi.

Thought it would be fun to try and hook the GPIO pins up to a shift register. This would allow a few pins to drive many more.


MSP430 + ShiftBrite

I like the Texas Instrument MSP430 microcontroller. It’s cheap, low-powered and has tons of features. You can get a complete development board, with embedded debugger, software and 2 controllers for $4.30!

I also like the macetech ShiftBrite RGB LED modules. Makes it easy to add a bit of color to electronics projects.

So here’s a library that makes it easy to control a ShiftBrite from an MSP430:

LDAP authentication with Node.JS

I’m a big fan of Node.JS.

It has a large collection of third party add-ons, but it lacked anything for LDAP authentication – something I need for web-apps.

So, I created a small library with a single function that authenticates a username/password against an LDAP server.

var ldapauth = require('ldapauth'); 

ldapauth.authenticate('some.host', 389, 'someuser', 'somepassword',
  function(err, result) {
    if (err) {
      print('Error');
    } else {
      print('Credentials valid = ' + result); // true or false
    }
  });

(Full example)

Under the hood it’s a native C++ module using OpenLDAP.

To use it, grab the ldapauth.node binary and include in your Node path (or reference directly when calling require()). The binary is built for 64bit Linux – if you use another platform, you’ll have to get the code and build it yourself.

SiteMesh logo design contest

I’m looking for a gorgeous new logo for SiteMesh, so I”ve just launched  a logo design contest on 99designs.com. It will run for 7 days and has a prize of $400 – of course, the real prize is the good feeling of contributing back to the SiteMesh project ;).

http://99designs.com/contests/23286

The brief…

Theme:
Clean, simple, modern.

Font:
Feel free to use whatever font you like, or create your own. Remember that SiteMesh is associated with clean and simple. If you use (or derive from) an existing font, please specify what font this is and where it can be obtained.

Background:
The logo should be on a flat (single color) background, so it is easy to place in different places. If the background is not white, please also supply a variation of the logo that has a white background (e.g. to use in print outs).

Color scheme:
Up to you.

Variations:
Would like two variations of the logo:
1. The worded logo: This focus of this must be the word ‘SiteMesh’. It will typically be used in the header of every page of the website, documentation, etc.
2. The icon based logo: This would typically appear in small square placements (e.g. a desktop icon). It does not need to contain the text ‘SiteMesh’ but should be easy to recognize as associated with the worded logo. Should look good at small sizes (e.g. 42×42).

Format:
Please supply original high-resolution files of whatever tool you use to create the logo (e.g PSD), so I can make modifications and rescale in the future as necessary.

http://99designs.com/contests/23286

I’ve joined Google

Woooo….. this looks fun.

How to host your own private CVS repository

Here’s a quick way to host your own remote private CVS repository, accessible via SSH.

All you need is an SSH enabled shell account on a UNIX box that has the CVS client installed. If the box doesn’t have a cvs client installed, you should be able to download a binary (or compile source) and place it in your local path. If you have webspace somewhere, chances are you’ve got everything you need.

Assuming, the server is foo.myserver.com, your username is myuser and your home dir on that server is /home/myuser, here are the steps:

* SSH to foo.myserver.com
* mkdir /home/myuser/cvsroot
* cvs -d /home/myuser/cvsroot init

Now, you can access your private CVS repository from anywhere using the CVSROOT :ext:myuser@foo.myserver.com:/home/myuser/cvsroot.